But enough of this. I’m going to show you how to edit your profile picture using Photoshop. It’ll provide the training ground for your long and magical Photoshop career.
The first thing we’re going to do is open Photoshop, which is done by either clicking on the desktop icon (if there is one)

or by Start -> All Programs -> Adobe Master Collection CS5 -> Adobe Photoshop CS5

Once it’s opened, we need to select and open the photo we want to edit. To open a picture for editing, we can either drag and drop the photo into Photoshop or we can (in Photoshop) click File -> Open -> (folder where your picture is) -> (name of your picture) -> Open.
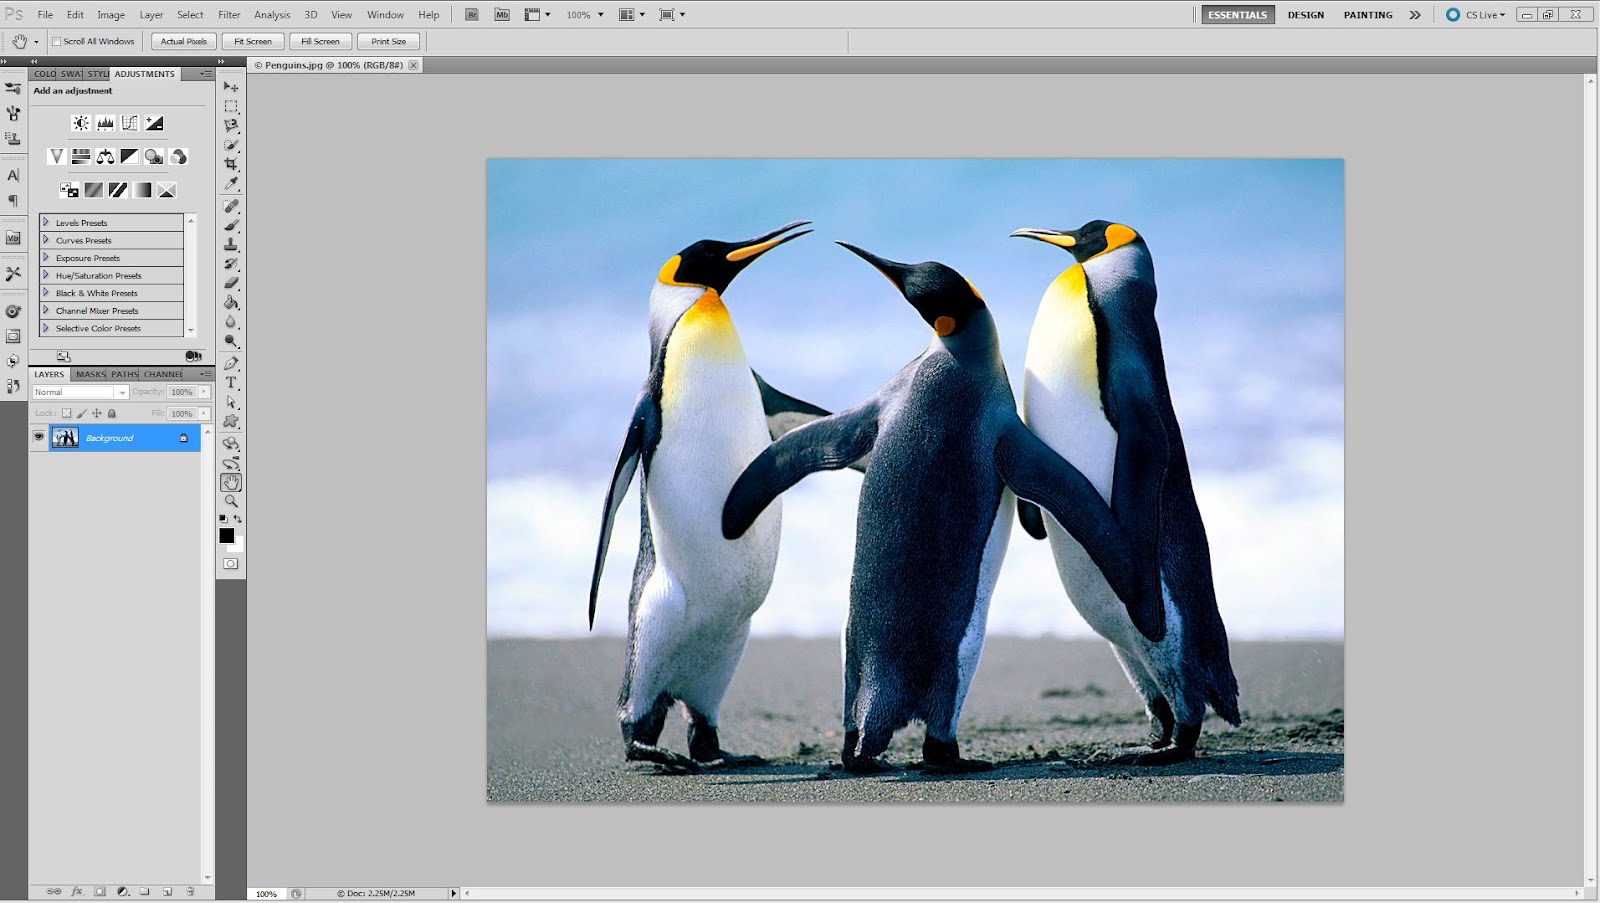
Your screen should now look like this (except with your picture instead of penguins):
Now is the part where your possibilities really open up. We have so many choices to choose from. Let’s say there’s someone (or something) in the picture that you want to edit out. We’ll start by learning how to crop. On the left hand side of the screen, you should see a button that looks like this:
That’s the cropping tool. Click on it and then click and drag the cursor over the parts of the picture you want to keep, so when you release the mouse button the part you want to get rid of is darker than the rest. Don’t worry if you didn’t get it just right – you can use the resizing boxes to make the area you want to keep bigger or smaller.

Once you’re happy with the size, double click anywhere on the highlighted part to crop the picture.

Congratulations! You’ve just cropped your first picture in Photoshop.
Now let’s say you want to add text to your photo. You want to start by clicking on the Type Tool icon, which looks something like this:
With that selected, click and drag a box anywhere on your picture.

Now, type the text you want to appear. Once again, we have the resizing boxes for your editing pleasure. We also have, at the top of the screen, options for changing the font, size, color, alignment, and font style. There’s also a text orientation and text warp feature. Text orientation changes the direction of your text (horizontal to vertical), while text warp allows you to warp your text into different shapes.

So, for this tutorial, we’re going to warp our text into the shape “Rise”.

We still have more options, both for our text and/or our picture. On the right hand side of your screen, you should have a panel that looks like this:

At the top, click on “styles”. Now we can add effects to our text by clicking on any of the little boxes. For this tutorial, we’re going to use the “striped cone” button (top row, fourth button). Some of these buttons will work on your picture. To do this, though, we have to make a copy of the background layer.
On the bottom of the panel, you should have a box that looks something like this:

There will be a little lock icon on the side (meaning that the layer is locked). We can’t make too many changes with a locked layer, so we’ll make a copy of it. We do this by right clicking on the layer and selecting “duplicate layer”.

Now, a box will pop up that looks like this (except with your file name):

You can change the layer name if you want. I usually leave it as the default ("background copy"). After you select “OK”, we need to delete the locked layer, which is done by right clicking on it and selecting “delete layer” followed by “OK”.
Once that’s done, we can play around with the style of the picture like we did with the text. For this tutorial, we’re going to go with “sun faded photo”.

And that’s it! We’ve just covered some of the basics of Photoshop and now you know how to do a little editing for your profile pictures. Happy Photoshopping!
No comments:
Post a Comment